The roof, as they say, is your home’s crown. Beyond aesthetics, a roof serves an indispensable function, especially in the face of Earth’s moodiest moods. EPDM is steadfast and low-maintenance and stands out as the go-to roofing choice for builders and homeowners.
In this comprehensive guide, you’ll learn everything you need to know about EPDM roofing installation. This will ensure the protection of your sanctuary with a robust, reliable, and resilient shelter overhead.

EPDM Roofing: The Basics You Need to Grasp
EPDM rubber, a roofing mainstay for over 50 years, is favored for its durability, waterproof nature, and UV and ozone resistance. It’s a top pick for flat roof systems, common in commercial and modern residential buildings.
Unlike traditional materials, EPDM is highly resistant to hail, UV rays, and environmental effects, lasting 25 to 50+ years with little upkeep – a smart choice for homeowners.
EPDM sheets, available in different thicknesses like the standard 45mm, provide seamless roofing for fewer leaks and improved structure protection.
A Step-By-Step Blueprint for EPDM Roofing Installation
Now that you understand the why, it’s time to focus on the how – the intricacies of installing an EPDM roof.
Step 1: Preparing For Success
The key to a successful EPDM installation is meticulous preparation. This involves not only cleaning and repairing the existing roof but also ensuring that the materials and tools you need are ready and accessible.
Inspecting Your Roof Deck
Before installing EPDM, it’s essential that your roof deck is clean, dry, and without any damage. Any imperfection can compromise the seamless nature of the EPDM, leading to potential leaks and other issues.
Measuring Twice, Cutting Once
Precision is paramount in any roofing project. Measure your roof accurately, and cut the EPDM sheets to the correct size before you start the installation process.
Step 2: The Art of Adhering
Proper adhesion is crucial for EPDM to perform as intended. This step is all about choosing the right method for your installation.
Adhesive Application
You have two main options when it comes to adhesive – water-based and solvent-based. Water-based adhesives are safer to use and better for the environment, but they require a longer drying time. Solvent-based adhesives dry much quicker but come with their own set of precautions and application specifications.
Cover Strip Installation
In some systems, cover strips are used to alleviate stress on the adhesive joints. These have to be installed skillfully to maintain the integrity of the waterproofing.
Step 3: Details Make The Difference
The devil might reside in the details, but the salvation is in getting them right. Details like terminations and penetrations are critical for a watertight EPDM installation.
Addressing Penetrations
Chimneys, vents, and other roof penetrations are weak points in your roofing system. Pre-manufactured pipe boots and flashings specific to EPDM systems are available for a seamless fit.
Edge Trims and Terminations
Edge trims and termination bars provide a clean finish to your EPDM installation. They also offer protection against wind uplift and prevent inadvertent damage to your roof’s perimeter.
Step 4: Walking the Walk on Your EPDM Roof
EPDM is designed to be walked on, but you still need to be cautious. Distribute your weight evenly, and when in doubt, consider using walkway pads or extra EPDM sheets to disperse the load.
Safety First
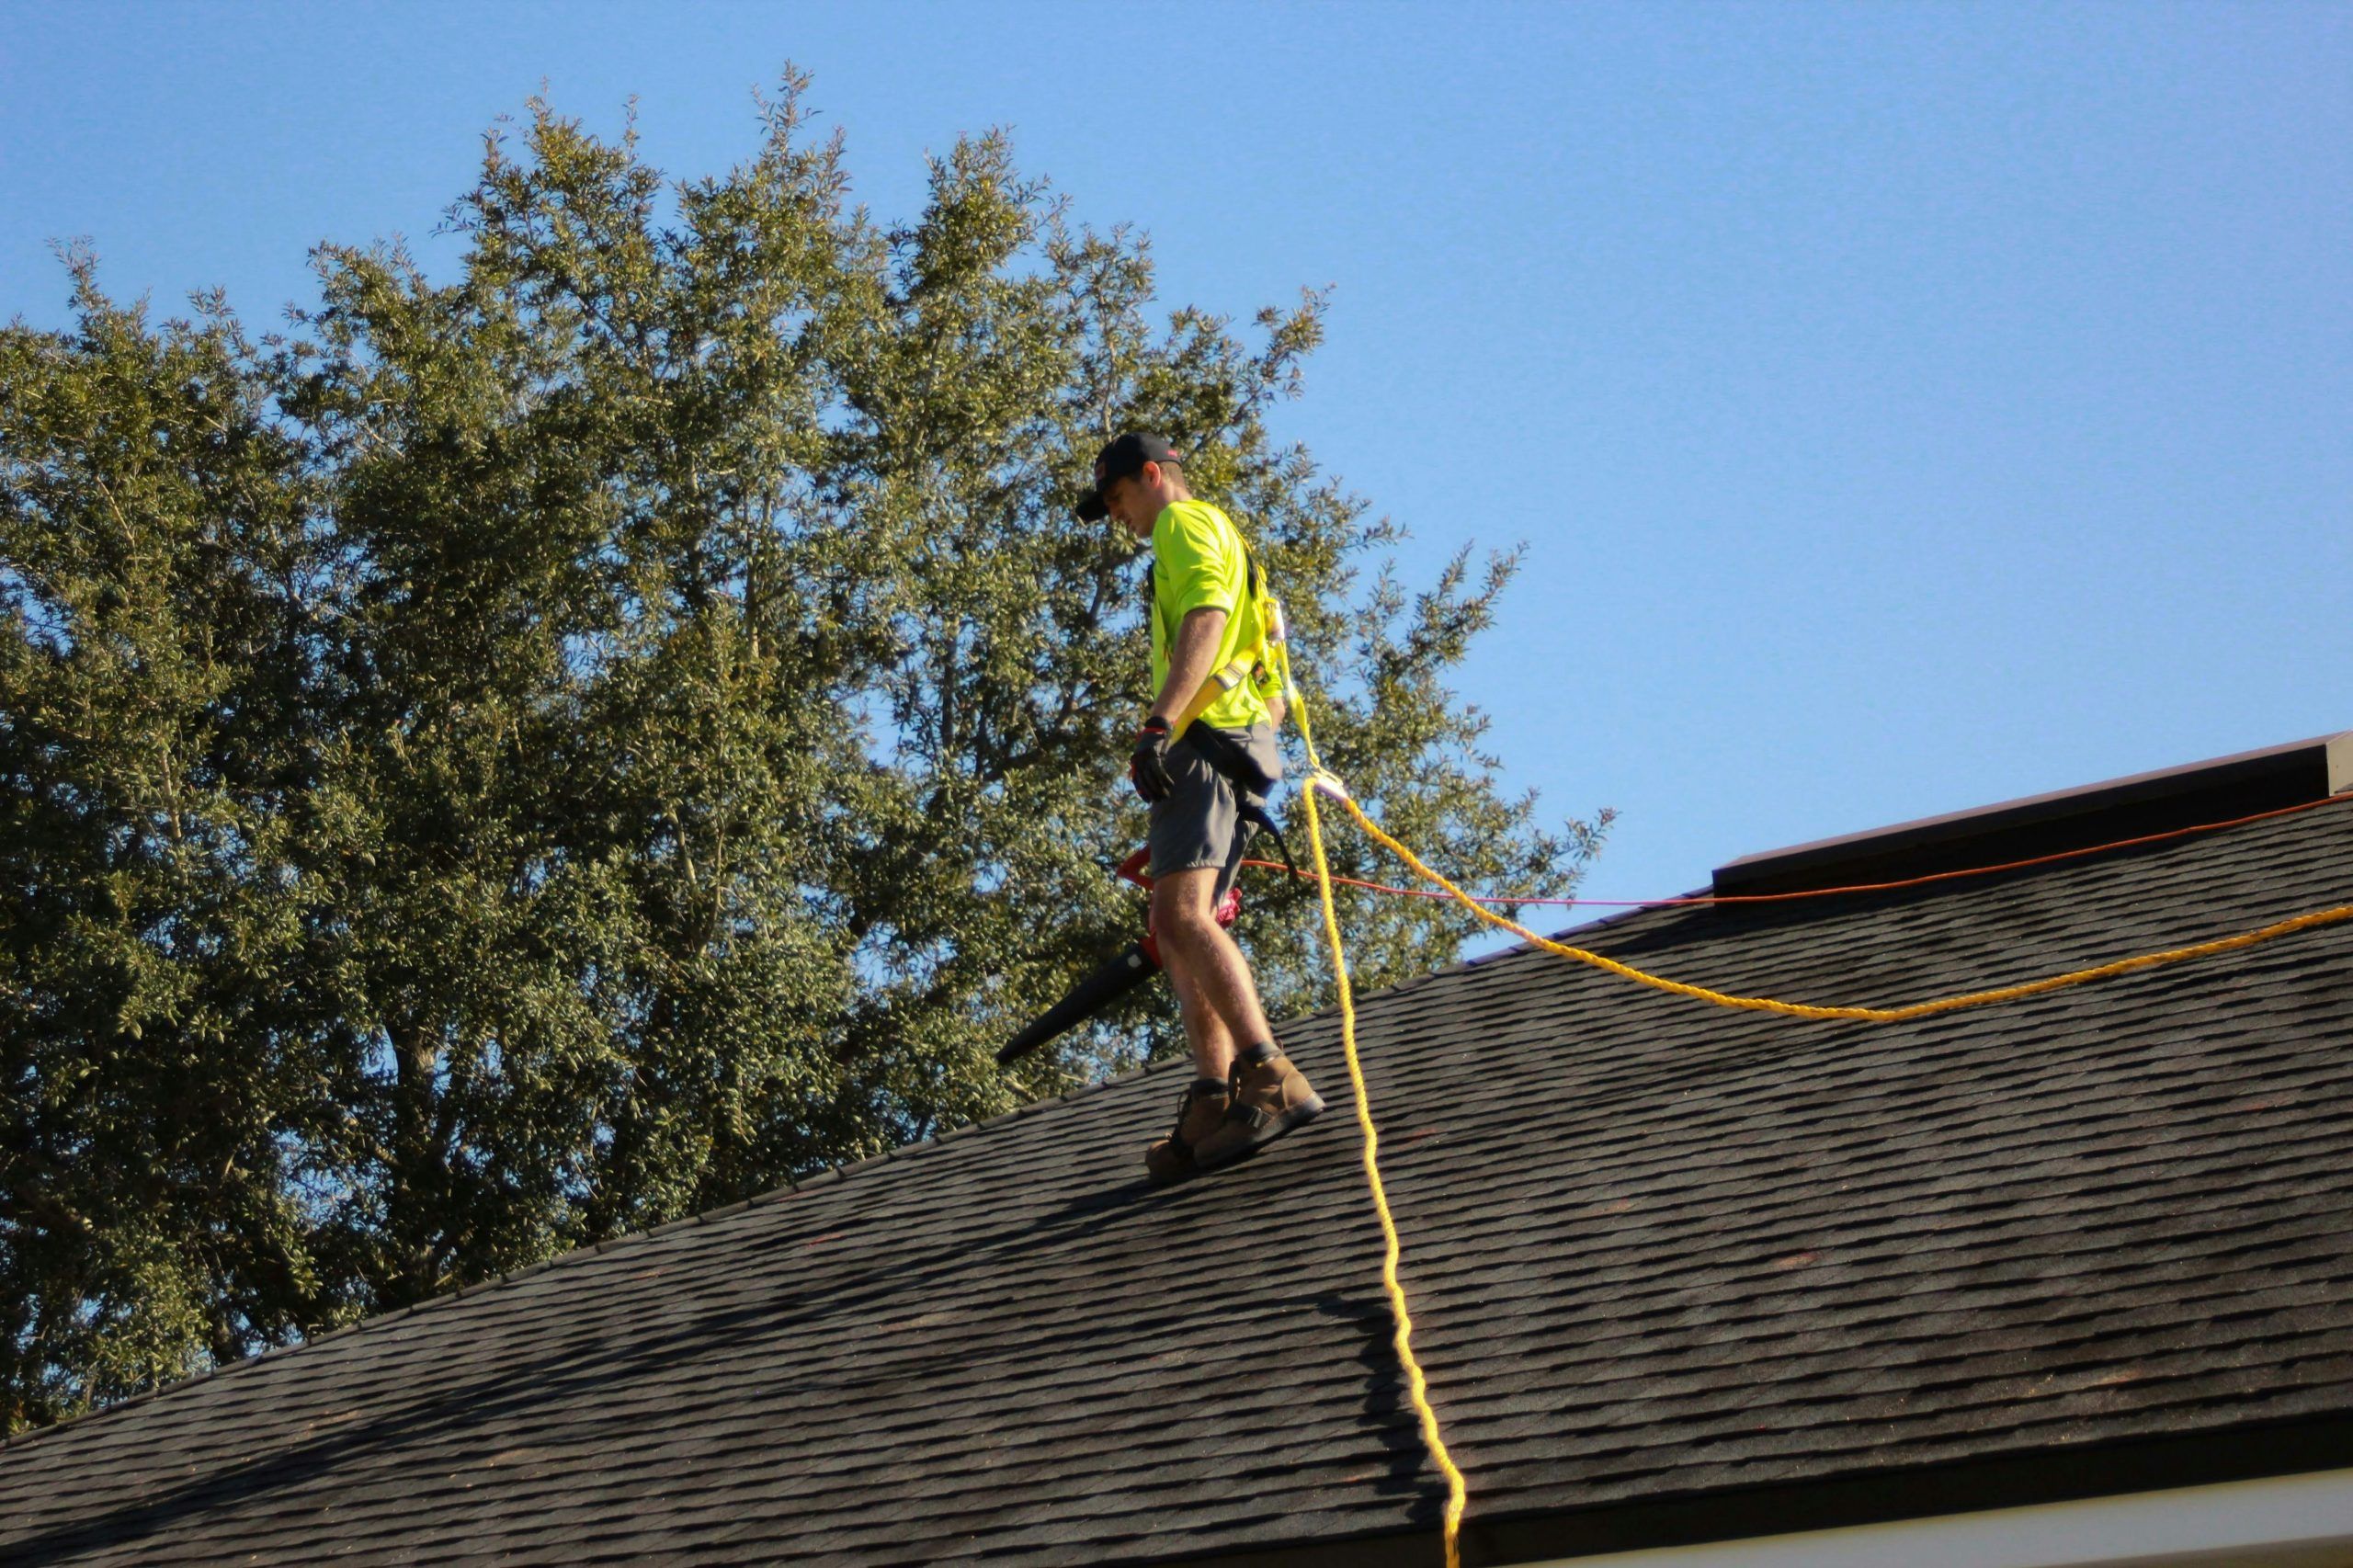
Safety is non-negotiable when working on any roof. Always use proper personal protective equipment (PPE) and consider the weather conditions before starting your installation.
Distributing Loads
Heavy items, whether it’s tools or your own weight, should be spread across a wider area. This will minimize the risk of damage to the EPDM or any underlying insulation.
Hiring a Professional vs. the DIY Route
Deciding whether to hire a professional or tackle the EPDM installation yourself is a personal choice that depends on various factors, including your comfort level with DIY projects, the complexity of your roof design, and your budget.
When to Consider Hiring a Professional
If your roof has numerous penetrations, requires intricate detailing, or if you’re uncomfortable working at heights, it’s often best to leave the job to a professional like these commercial roofing contractors in Orange County.
When DIY Is a Viable Option
Simple flat roof structures with minimal penetrations can be well-suited for a DIY EPDM installation. With proper prep, the right tools, and attention to detail, you can get pro-quality results. And, you can do it without the pro price tag.
The Cost of EPDM Roofing Installation
Understanding the financial outlay of an EPDM installation is crucial in making an informed decision. The costs can vary widely based on the size of your roof, the complexity of the installation, and whether you choose to go DIY or hire a contractor.
Materials and Equipment
EPDM rolls, adhesives, seam tapes, and other necessary tools and materials are the primary components of the costs. Always factor in extras like cleaners, primers, and repair kits.
Labor Costs
If you opt for a professional installation, labor costs will be your largest expense. It’s wise to get multiple quotes and ensure that you’re comparing apples to apples in terms of the scope of work.
Long-Term Value
While the upfront costs of EPDM might be higher than some other roofing materials, its longevity and resistance to damage can provide significant long-term value in terms of reduced maintenance and replacement costs.

The Legal and Certification Side of EPDM
Understanding the legal and certification requirements for your rubber roof installation is key for compliance and potential future property transactions.
Local Building Codes
Always check with your local building authority to ensure compliance with building codes. Each area may have different requirements for flat roof systems.
Warranties and Insurance
Choose a certified EPDM product and ensure that your installer is experienced and offers a warranty for their work. This can be crucial for insurance claims and property value assessments.
Follow This Step-by-Step Guide to EPDM Roofing Installation
EPDM roofing is a modern marvel in the world of building materials. Its durability, eco-friendliness, and ease of installation have made it a household name in the roofing industry. For commercial or residential EPDM roofing installation, this guide provides the knowledge to make informed decisions about your roof.
With a good grasp of materials, processes, and maintenance needs, your EPDM roof ensures reliable cover. Investing in a high-quality, professionally-installed EPDM roof secures the future longevity and value of your property.
Explore more insights and guides on our blog. Browse now for more articles and unlock the full potential of your endeavors.

