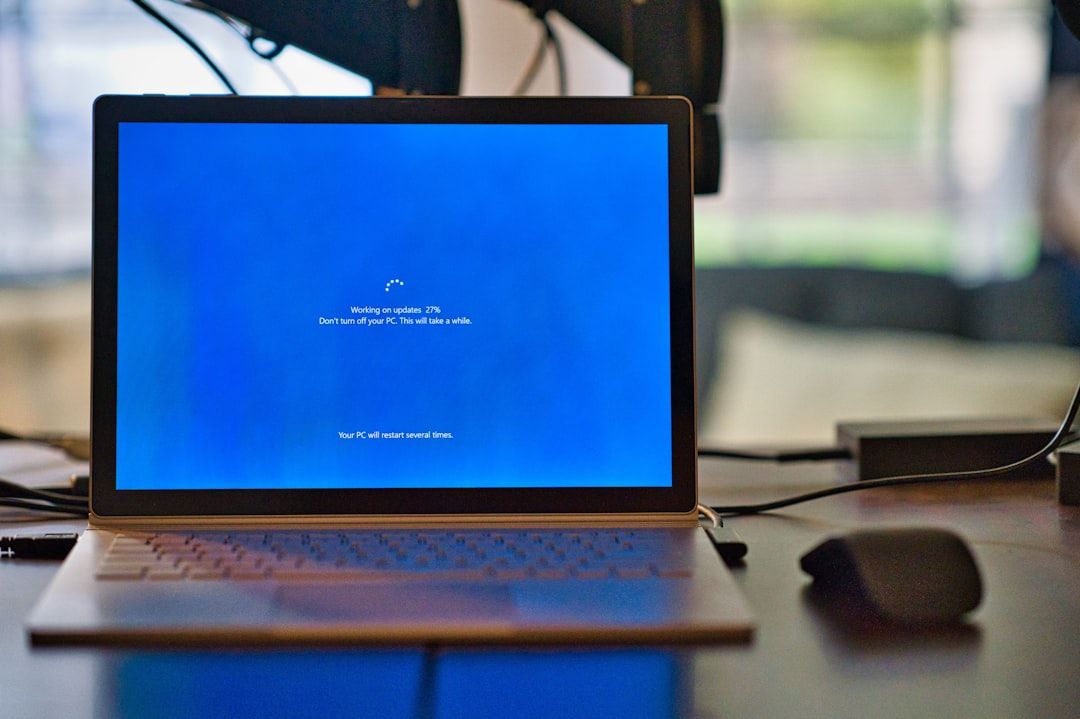
The infamous nvlddmkm.sys blue screen error is a common and frustrating issue for many Windows users, especially those using NVIDIA graphics cards. This error indicates a critical fault within the NVIDIA display driver, and when it occurs, the system halts with a Blue Screen of Death (BSOD), usually accompanied by a message like “VIDEO_TDR_FAILURE (nvlddmkm.sys)”. Given how essential display drivers are for system functionality, this issue requires immediate attention. In this comprehensive guide, we’ll explore the root causes of the nvlddmkm.sys error and walk you through various solutions to fix it.
What Is Nvlddmkm.sys?
The nvlddmkm.sys file is a critical system file associated with NVIDIA display drivers. It is responsible for managing the communication between your NVIDIA graphics card and the Windows operating system. When the communication fails due to software or hardware issues, it can result in the BSOD.

Common Causes of the Error
Understanding the underlying reasons for the nvlddmkm.sys error is essential for applying the right fix. Here are some common causes:
- Corrupted or outdated NVIDIA drivers.
- Overheating or failing graphics card hardware.
- Memory (RAM) issues.
- Incompatible software or Windows updates.
- Overclocking of the GPU or system.
How to Fix Nvlddmkm.sys Blue Screen Error
Below are several tested and trustworthy methods to resolve this issue effectively. It is recommended to follow these steps in the order presented.
1. Boot into Safe Mode
If your PC is stuck in a BSOD loop, the first step is to boot into Safe Mode:
- Restart your computer.
- As it’s booting, press F8 or Shift + F8 repeatedly.
- Select Safe Mode with Networking when the boot options appear.
This environment loads only essential drivers and prevents the nvlddmkm.sys error from occurring, allowing you to apply fixes.
2. Uninstall and Reinstall NVIDIA Graphics Drivers
Corrupted or outdated drivers are the most frequent culprit. Here’s how to clean and reinstall them:
- Download Display Driver Uninstaller (DDU).
- Boot into Safe Mode and run DDU to remove all NVIDIA drivers.
- Restart your computer normally.
- Visit the official NVIDIA Driver Download page and download the latest stable driver for your GPU.
- Install the driver using the “Clean Installation” option during setup.
After installation, restart your PC and check if the error is resolved.
3. Roll Back to an Earlier Driver Version
Sometimes, the latest driver may be incompatible. To roll back:
- Press Windows + X and select Device Manager.
- Expand Display adapters.
- Right-click on your NVIDIA GPU and choose Properties.
- In the Driver tab, click Roll Back Driver.
This will revert your graphics driver to the previous version, which may be more stable.
4. Check for Windows Updates and Optional Driver Updates
Microsoft often releases patches that fix compatibility issues:
- Go to Settings > Update & Security > Windows Update.
- Click Check for updates.
- Install both critical and optional updates, including driver updates.
After updates are installed, restart your PC and monitor the system’s performance.

5. Disable Overclocking
Overclocking can cause inconsistencies and system crashes:
- Reset your BIOS settings to default.
- If you are using third-party software like MSI Afterburner, revert all settings to default or uninstall the software.
Overclocking should only be done by experienced users who understand the risks. For stability, keep your system running at manufacturer-approved specifications.
6. Check for Heat & Hardware Issues
Overheating and physical hardware failure can trigger BSODs. To diagnose physical problems:
- Use software such as HWMonitor or GPU-Z to monitor GPU temperature. If it exceeds 85°C, consider cleaning your computer’s cooling system or reapplying thermal paste.
- Ensure fans and vents are not obstructed by dust or debris.
- Test your graphics card on another system, if available, to determine if the problem is hardware-related.
7. Run Memory Diagnostics
Faulty RAM can sometimes trigger driver-related blue screens:
- Press Windows + R, type mdsched.exe, and press Enter.
- Choose to restart and check for memory problems.
Let the tool run through its tests. If issues are detected, consider replacing the faulty RAM modules.
8. Perform a System File Check (SFC Scan)
System file corruption can also lead to driver errors:
- Open Command Prompt as Administrator.
- Type
sfc /scannowand press Enter.
This process can take some time. Once completed, restart your computer and check for improvement.
9. Manually Replace nvlddmkm.sys
If the specific file is corrupted, you can manually replace it:
- Navigate to
C:\Windows\System32\driversand locate nvlddmkm.sys. - Rename it to nvlddmkm.sys.old.
- Extract a fresh version from the NVIDIA driver package. You can do this by running the installer and navigating to the extracted files in Temp.
- Copy the new version to the drivers folder and restart.
Preventing Future Errors
Once the issue is resolved, you should take steps to prevent recurring errors:
- Keep your graphics drivers up to date using NVIDIA’s GeForce Experience software.
- Avoid registry cleaners and unverified optimizers that may remove essential system files.
- Ensure proper system cooling to prevent thermal-related crashes.
- Run regular scans for malware using trusted security software.
When to Seek Professional Help
If none of the above solutions resolve the issue, it may point to a deeper hardware failure — particularly with your graphics card or motherboard. In such cases, it is advisable to contact the device manufacturer or a certified technician for further diagnostics and replacement recommendations.
The nvlddmkm.sys BSOD is not an unsolvable problem, but it does require a methodical and patient approach. By following the steps in this guide, most users will be able to troubleshoot and fix the issue on their own, restoring system stability and performance.

