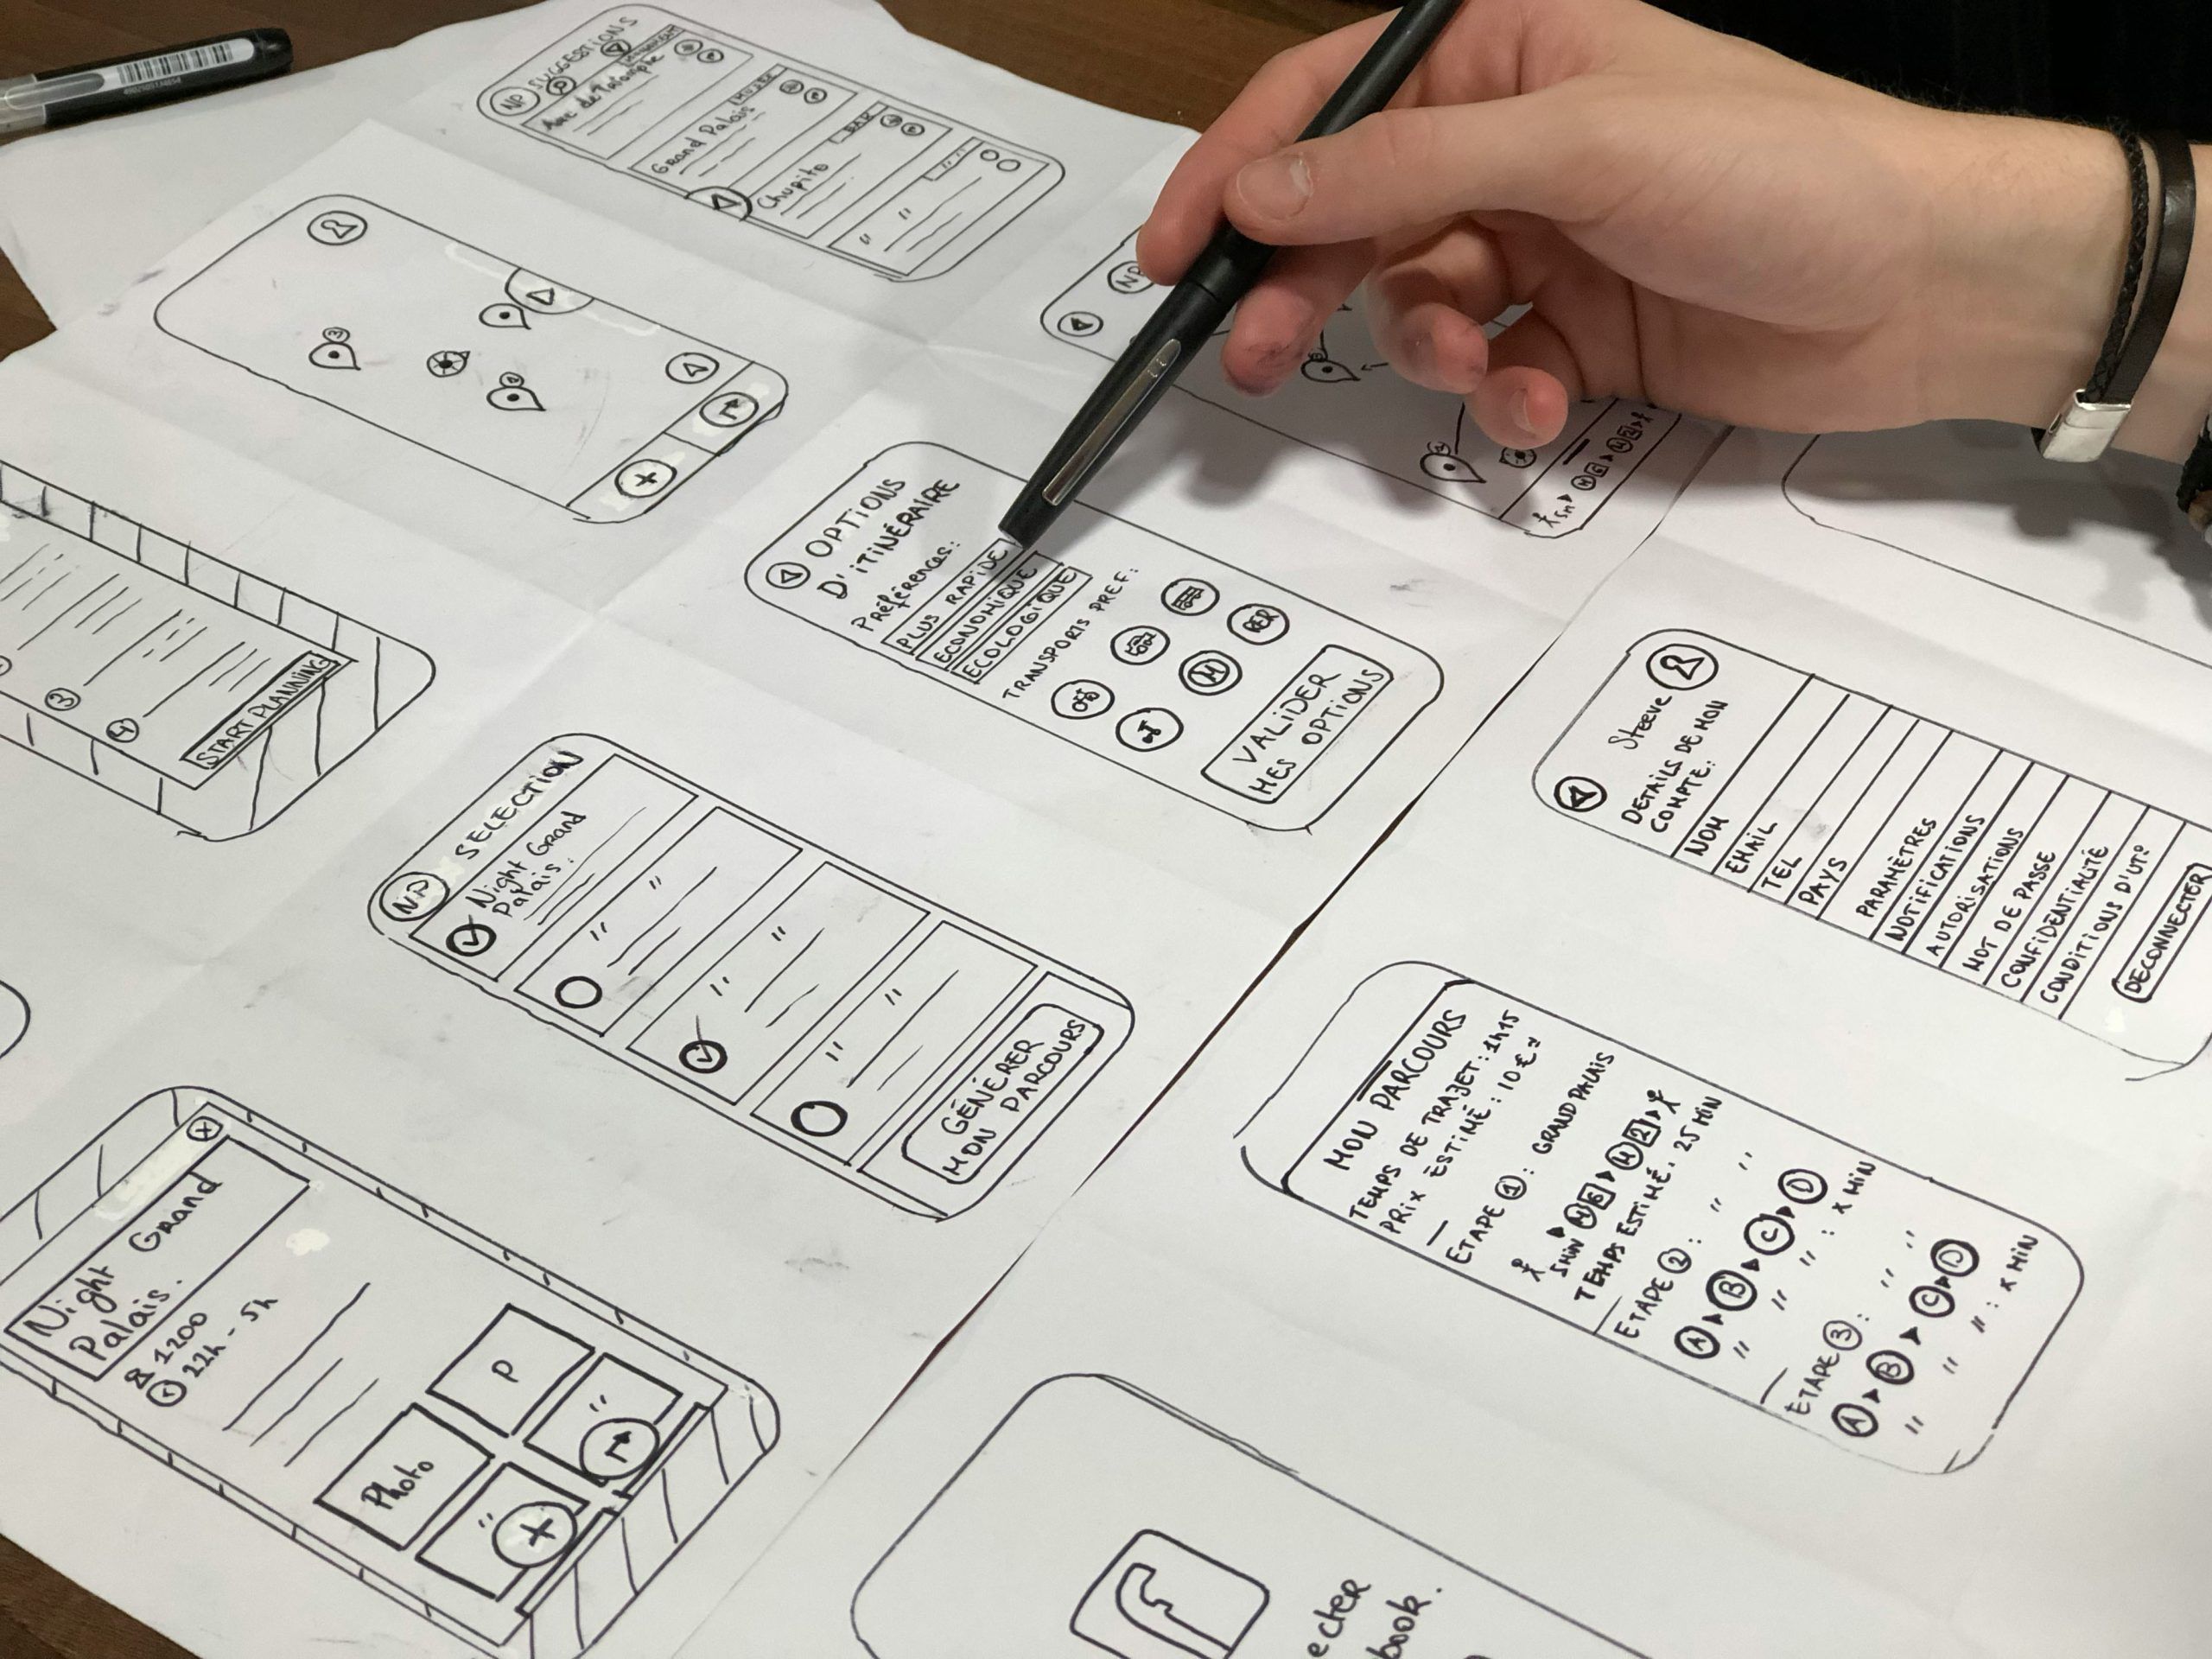
Prototyping is an essential part of the design process. It allows you to quickly test ideas, get feedback, and iterate before investing time and resources into full development. With so many prototyping tools available, choosing the right ones to integrate into your workflow can be challenging. Here are some tips for seamlessly integrating prototyping into your design process.

Evaluate Your Needs
The first step is identifying what you need in a prototyping tool. Consider the type of prototypes you want to create, features important to your workflow, and budget. Do you need to design interactive high-fidelity prototypes? Or simple low-fidelity wireframes? This will help narrow down tools that best fit your goals. Prioritize must-have features like built-in libraries, collaboration options, and exporting capabilities.
Shortlist tools that align with your budget and needs, and consider investing in tools that allow real-time collaboration, such as digital whiteboards.
Online whiteboards enable real-time visual collaboration when prototyping. Designers can quickly sketch flows, wireframes, and interfaces and iterate in real-time with stakeholders. Built-in sticky notes, images, and sketch tools facilitate rapid ideation. Version history allows tracking prototype evolution. Whiteboards facilitate remote prototyping and feedback – look at Miro vs Figma to learn more.
Streamline Your Toolchain
Look for prototyping tools that easily integrate with your existing design workflow. Many tools have integrations with popular design platforms. This allows you to sync designs and leverage existing assets. Having a unified design ecosystem minimizes disruptions and ensures consistency across tools. If using a standalone prototyping tool, ensure it can import design files from your graphic editing tools. The easier it is to move between tools, the smoother your workflow.
Start Small and Iterate
When evaluating a new prototyping tool, start with a small project to test the waters before fully integrating it. Create a simple prototype based on an existing design. Get familiar with key features and try building out a typical user flow. This will reveal how intuitive the tool is and if it aligns with your design thinking. Gather feedback from team members for additional insights. Use the learnings to inform whether and how deeply to adopt the tool.
Customize Your Workflow
Most proto typing tools are highly customizable. Take time to set up preferences and templates to maximize efficiency. Build component libraries of commonly used UI elements, brand assets, and layouts. Set up shortcuts for frequent actions. Organize files and artboards for easy access. The more you can optimize the tool to your workflow, the easier it will be to adopt. Don’t be afraid to iterate as you uncover better ways to work.
Collaborate and Iterate
Prototyping tools empower collaboration through built-in commenting, versioning, and sharing capabilities. Take advantage of these features to get feedback and refine prototypes before development. Set up team libraries and templates to maintain consistency across prototypes. Use built-in analytics in some tools to identify usability issues and prioritize improvements. Collaborative prototyping results in designs thoroughly vetted before build-out.
Integrating the right prototyping tools provides efficiency, consistency, and flexibility in the design process. Evaluating needs, streamlining integration, starting small, customizing, and enabling collaboration will lead to seamless adoption. Prototyping is most powerful when it fits seamlessly into your existing workflow.

