

Termites are among the most prevalent household pests in the United States, with 600,000 homes experiencing termite damage annually. While termites are famous for munching on the wood that acts as your home’s structure, there are other components you must maintain to protect your home.
Though termites don’t eat drywall, it’s normal to discover termite drywall damage when these pesky creatures find a path into your house. An extensive termite infestation will put the wood beams and supports at risk and chew holes through your new drywall that require repairs.
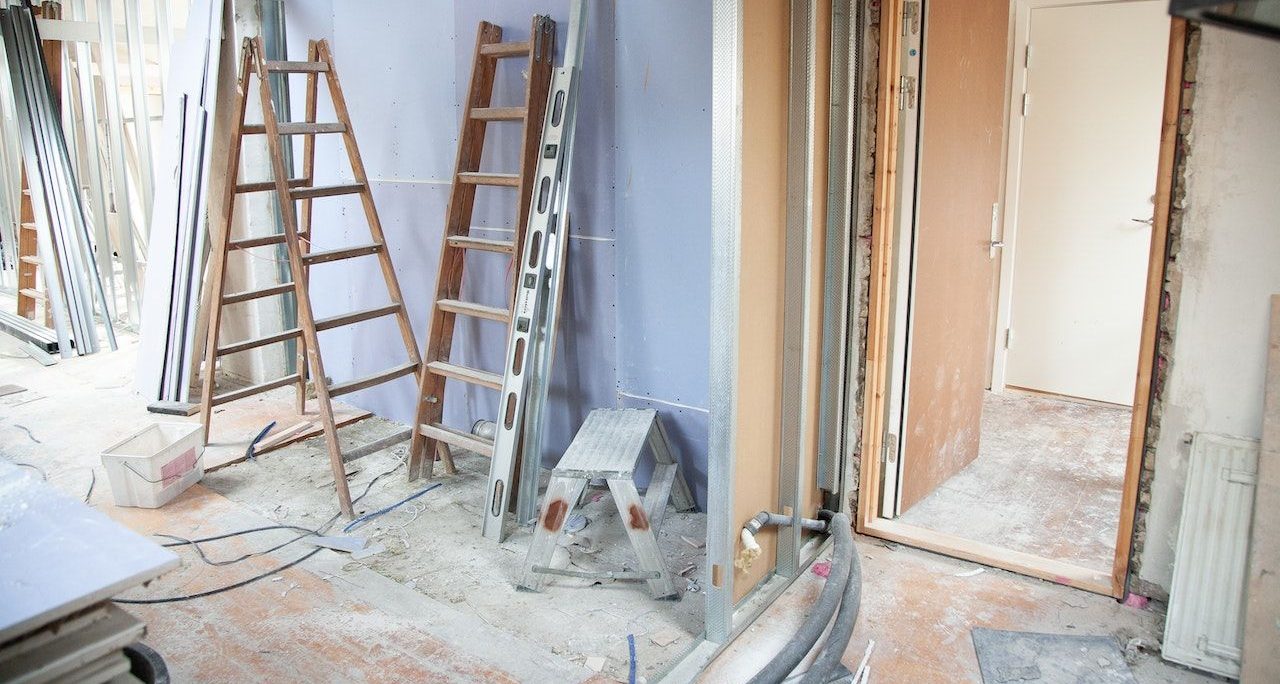
If repairing drywall isn’t your forte, you’re still in luck. You’ve discovered this enlightening guide to the seven tips you should use when facing drywall problems from a termite infestation in your home.
Continue reading to repair your drywall and restore your home to a beautiful state today!
What Does Termite Drywall Damage Look Like?
Drywall damage is expected when you discover that you’re sharing your family home with an infestation of termites. The best way to determine if termites have eaten through your drywall is by inspecting it. You’ll find tiny exit holes in the drywall, and it’s best to use an awl to rip the outer portion away.
It’s the best way to inspect the damage beneath the drywall’s outer surface. You’ll have an exposed view of the tunnels your resident termites have built during their journey to find more food.
The termites prefer to avoid eating your drywall chalk or paint. The part of the drywall that attracts them is the paper and glue on the outside. It becomes an especially appealing meal if your drywall sustains water damage from a flood.
1. Diagnose the Damage
The first step to take when repairing drywall is to diagnose the extent of the damage. The exit holes are a minor symptom of the underlying problem when you have a termite infestation. It’s also the best way to determine which tools to fix your drywall damage.
As mentioned earlier, use light and look closely at the drywall for exit holes from the termite colony. Remove the outer layer of the drywall beneath the exit holes to determine the extent of the damage.
The tunnels beneath the surface will give you a clearer idea of how widespread the issue is. Failure to do your due diligence could result in structural failure or a return of your home’s greatest nemesis.
2. Cut the Holes
After removing the outer layer of the drywall surrounding the exit holes, removing all termite tunnels you find is best. There’s no perfect pattern to removing these tunnels, but ensure you remove all of them before proceeding with your drywall repairs. It’s the most effective way to combat termites in Florida.
Expect some drywall and dust to fall onto your home’s floors. Borrow or rent a shop vac if you don’t own one. It’s the quickest way to clean up the mess from tearing back your home’s drywall.
3. Look for Nails and Mold
It’s also critical to look for nails when repairing your home’s drywall damage. Look for nails in the protruding studs that are now exposed after removing the drywall’s outer layer. Clean up any messes you discover at this stage of the repair process.
While fixing your drywall problems, check the insulation for signs of mold or deterioration. It’s best to repair these problems while they’re exposed and accessible. If your home has sustained water damage, you’ll likely need to replace the bottom portion of the insulation inside your drywall.
4. Start Cutting
You’ll want to cut new drywall material to replace the portion you tore down to eliminate the termites and mold. You don’t need special tools to complete this part of the drywall repair process. A utility knife will do the trick and help you cut the drywall portions to the perfect size.
Having drywall screws ready when you’ve finished cutting the new drywall pieces is also beneficial. Use 3/4″ drywall screws for the best results when installing the newly cut drywall over the area with termite damage.
Check for any electrical outlets present in the area you’re repairing. Accommodating them is as simple as measuring the outlet and cutting a precise hole to fit over it. You’ll enjoy ready access to electricity in that part of your home and eliminate any potential frustration.
5. Reinforce the Drywall
Reinforcing the drywall ensures it survives wear, tear, and shifting foundations. Consider using furring strips to support the area where the termites were heavily located. Secure the furring strips with more screws to hold the new drywall in place and provide additional security.
6. Sand It Smooth
Sanding the new drywall smooth is essential to create that pristine look you crave for your home. You want to ensure the new piece of drywall you’ve installed is smooth and flush with the rest of the home’s wall. The best sandpaper for the task is an 80-100 grit option.
You can use a finer sandpaper option if you prefer a smoother finish for your walls. It comes down to personal preference, though sandpaper provides the best path toward a seamless wall.
7. Prime and Paint
The last step in your journey to repair termite drywall damage is to prime and paint the replacement piece of drywall to complete the appearance of your home’s interior. The goal is to leave no trace that you’ve repaired the drywall and eliminated the termites that briefly shared your home.
Use the same brand and color of paint when repairing drywall in your home. You’ll create the seamless appearance your home deserves.

Repair Your Home’s Termite Damage Today
Termite drywall damage is an extensive issue in homes with termite infestations. The damage is worse when coupled with water damage.
Look for the exit holes to find the primary source of drywall problems and remove the outer layer to find the termite tunnels. Remove them and replace the damaged drywall with a new piece to create a seamless room again.
Protecting the home is the number one priority for most homeowners. Learn the best tips and tricks to maintain your house with our Home and Real Estate guides today!